

What is WordPress?
WordPress is a free and open-source content management system based on PHP and MySQL.
How to Install WordPress Manually?
We do provide softaculous auto script installer with our all shared web hosting plans which allows to install WordPress in one click, but some time softaculous is not available on VPS/Cloud and Dedicated servers because client don’t required any control panel to manage server, at that time we can install WordPress using following simple steps.
Step 1 : Download WordPress
Download the latest WordPress installer file from official WordPress website
Unzip the downloaded file to a folder on your local machine/computer.
Step 2: Upload extracted WordPress files folder to Web Hosting Account or Server
Upload WordPress to a web hosting account or server without control panel using FTP or SFTP.
Step 3: Create MySQL Database and User for WordPress installation
All records stored in a Database, therefore Database and user need to be create before WordPress installation.
You can create the MySQL database user using phpMyAdmin as well as from shell using following commands
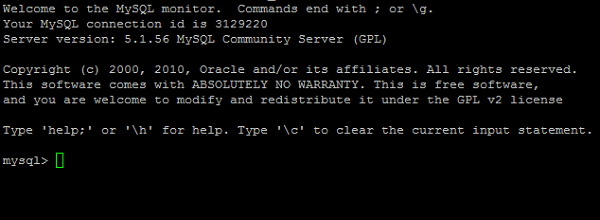
Connect to MySQL
mysql -u username -p
After entering above command you will be asked for your MySQL password. Type your password and you will be shown a screen like this:
Once logged into MySQL prompt, execute following commands
Create database
create database dbname;
Create database user
createuser'dbusername'@'localhost'identifiedby'password';
Assign permission to database user to manage database
grant all privileges on dbname.* to dbusername@localhost;
Note : Save MySQL database, user name and password as its required to initiate the WordPress installation.
Now open the file wp-config.php present in WordPress files folder and add the MySQL database, user name and password carefully without any space.
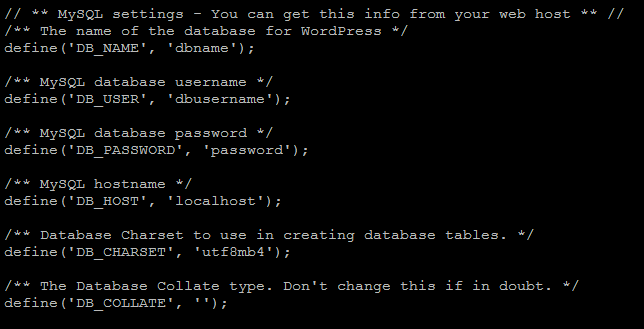
Its not mandatory to insert MySQL details manually, you can also submit same details while initiating the WordPress installation from web browser.
Step 3: Completing the installation
As all files and folders are uploaded and MySQL database connectivity also built, therefore browse the following URL and complete the WordPress installation
http://your-domain.com/wp-admin/install.php
or
http://your-domain.com/blog/wp-admin/install.php
in above URL /blog used, if you want to install WordPress under /blog, upload all WordPress files/folders under publich_html/blog instead of default document root path i.e public_html or /var/www/html as per your server.
After browsing installation link as per your installation requirement and website name, fill in the following fields to start installation process.
Site Name : Insert Title what ever you required.
Username : Your admin user name.
Password : Set strong password.
Email address : Login information will be sent to this email address and all other information/alerts.
Select whether or not to have the search engines index the site : Set YES, if you want to index your website in search engine else set it to NO.